How to install and trust NextDNS Root CA
Windows
- Open https://nextdns.io/ca to download the NextDNS.cer file.
- Open the NextDNS.cer file (the Certificate window will open).
- Click on Install Certificate.
- In the Certificate Import Wizard, when prompted for the Certificate Store, choose Place all certificates in the following store and select the Trusted Root Certification Authorities store.
CLI Installation
In a PowerShell as administrator, run:
Invoke-WebRequest -Uri "https://nextdns.io/ca" -OutFile "$env:TEMP\nextdns.cer"
certutil -addstore -f root "$env:TEMP\nextdns.cer"
macOS
- Open https://nextdns.io/ca to download the NextDNS.cer file.
- Open the NextDNS.cer file (the Keychain Access.app will open with the list of Certificates installed on your computer).
- Double-click on NextDNS Root CA in that list.
- Under Trust, choose Always Trust for Secure Socket Layers (SSL).
- Close the window (you may be asked to enter your system password to confirm the change).
iOS
- Open https://nextdns.io/ca, then choose Allow.
- Open the Settings app, then go to General → Profiles.
- Open NextDNS Root CA, then Install.
- In the Settings app, go to General → About → Certificate Trust Settings.
- Enable Full Trust for NextDNS Root CA.
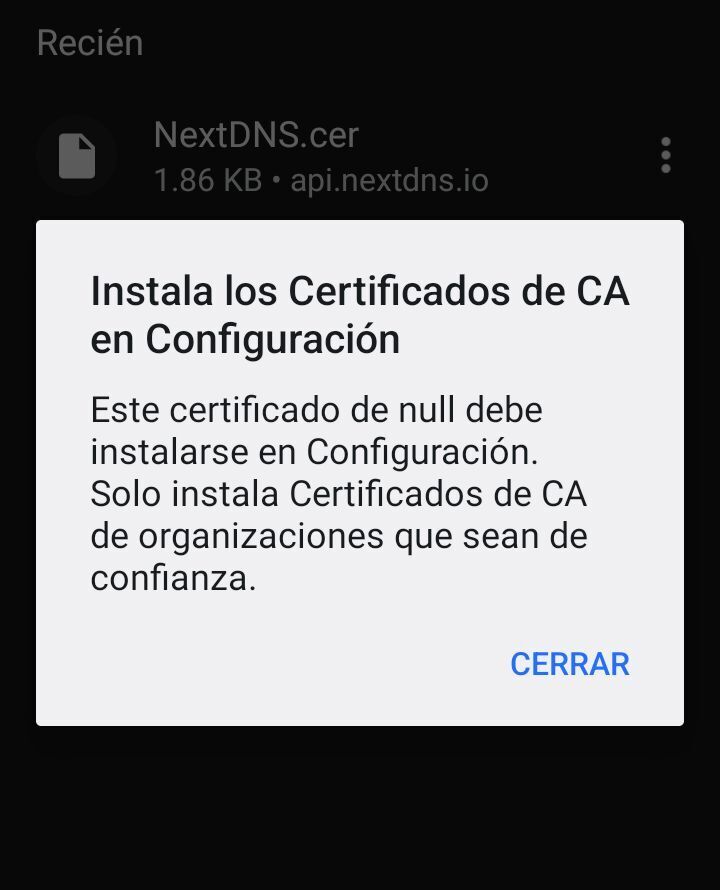
Android
- Open https://nextdns.io/ca, then choose Download.
- Open the downloaded NextDNS.cer file.
- When asked, name the certificate NextDNS.
Linux
Firefox
- Open https://nextdns.io/ca to download the NextDNS.cer file.
- Open about:preferences →Privacy & Security.
- Scroll down to Certificates and click View Certificates…
- In the Authorities tab click Import.
- Select the NextDNS.cer file.
- Check Trust this CA to identify websites then click OK
Chrome, Chromium
- Open https://nextdns.io/ca to download the NextDNS.cer file.
- Open chrome://settings/certificates
- In the Authorities tab click Import.
- In the lower right, select All Files
- Select the NextDNS.cer file.
- Check Trust this certificate for identifying websites then click OK.
If you're using Firefox, an additional step is required:
- Enter about:config in the address bar, then press Enter.
- If asked, click on Accept the Risk and Continue.
- Set the value for security.enterprise_roots.enabled to true.
38 replies
-
How to script cert installation?
-
I tried to install it to my phone, but it shows " No user certificate on the storage device matches this issuer certificate. "
-
Could there be a section on where to add this to popular Router distros?
PfSense
OpnSense
OpenWRT
etc
Thank you -
I am having a hard time installing the NextDNS CA certificate on macOS Sonoma 14.5.
I get this message:
The "System Roots" keychain cannot be modified.
To change whether a root certificate is trusted, open it in Keychain Access and modify its Trust Settings. New root certificates should be added to the login keychain for the current user, or to the System keychain if they are to be shared by all users of this machine.I am not sure how to proceed. When I attempt to open the certificate in Keychain Access, I either get the above message, or I cannot locate the certificate.
-
I want to inform users of iOS that there is another/updated way to install the cert:
To install a .cer file on an iOS device, follow these steps:
- Email the certificate: Attach the .cer file to an email and send it to yourself. This is the recommended method as other third-party programs are sandboxed from accessing the iOS keychain.
- Open the email: On your iOS device, open the email containing the attached .cer file.
- Tap the attachment: Tap the .cer file attachment to download and open it.
- Install the certificate: If prompted, tap “Install” to install the certificate. If a warning dialog appears, tap “Install” again.
- Verify the certificate: You may be asked to enter a numeric code used to unlock your device (e.g., if your device is passcode-locked).
-
currently the root cert found at https://nextdns.io/ca is not the same root CA used by `dns.nextdns.io`
-
Hola. disculpen soy nuevo usando NexDNS me pide que descargue pero al momento de abri el archivo me dice esto. ¿qué tengo que hacer?, ¿A qué se refiere con configuración?
-
Olvídalo ya busqué la forma de instalarlo :3